Sensor De Pressão Barométrica BMP180 com Arduino Uno
O Sensor BMP180 utiliza comunicação serial I2C, possui regulador de tensão na placa, podendo ser alimentado com uma tensão entre 3.3V e 16V (Recomendado 5V). Já possui resistências de pullup para o SDA e SCL da comunicação I2C, sendo compatível com qualquer microcontrolador que tenha um canal de comunicação I2C como o Arduino, NodeMcu ou o Raspberry Pi.
Neste artigo iremos ensinar como usar este sensor, para conseguir acompanhar este tutorial irá precisar dos seguintes artigos:
| Imagem | Produto | Comprar |
|---|---|---|
|
|
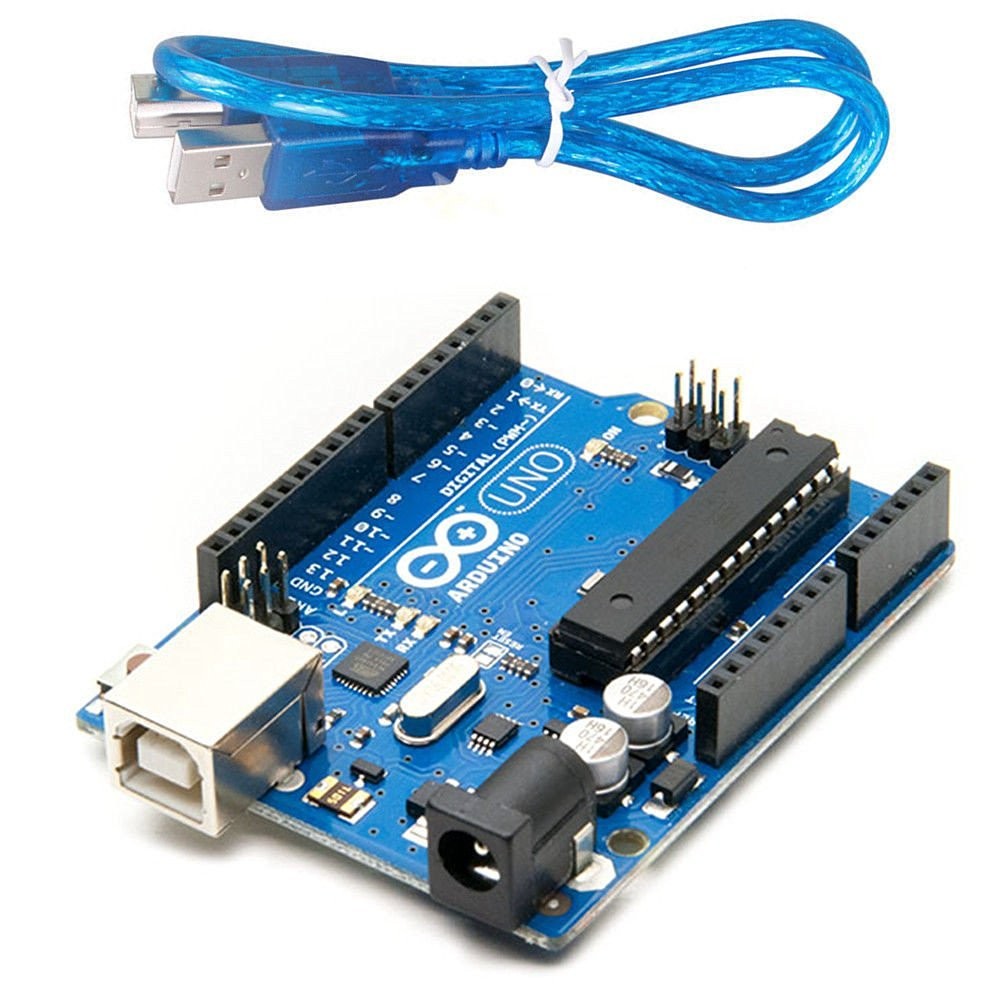
Arduino Uno |
|
|
|
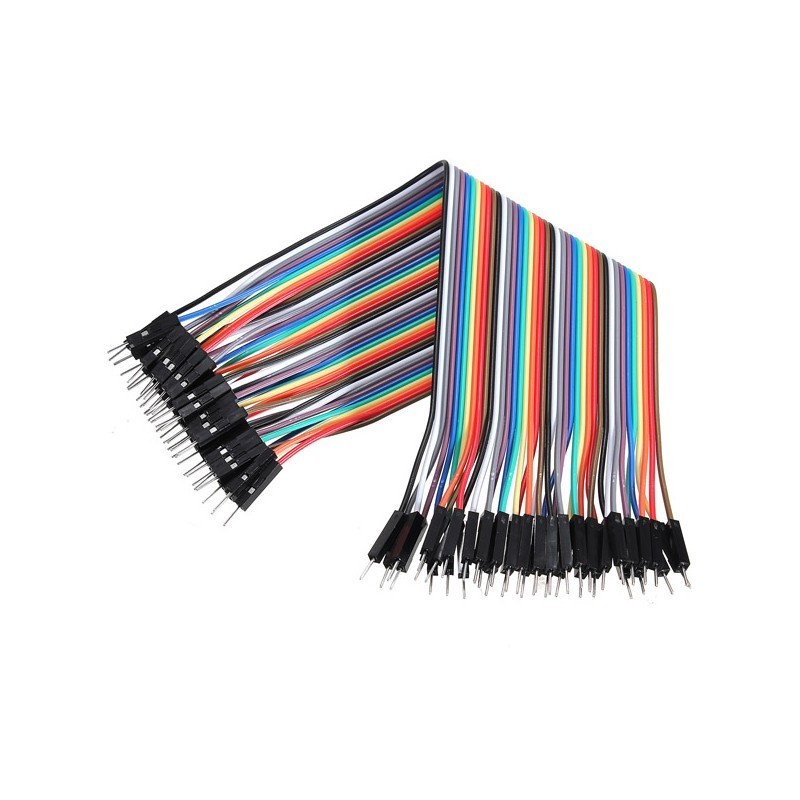
Cabos Jumper Macho-Macho |
|
|
|
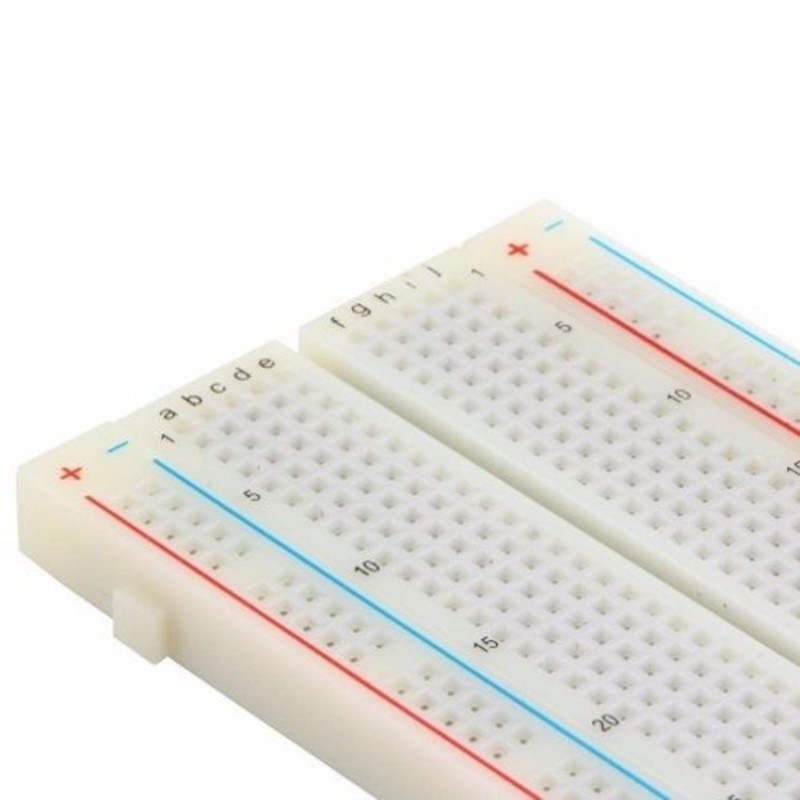
BreadBoard |
|
|
|
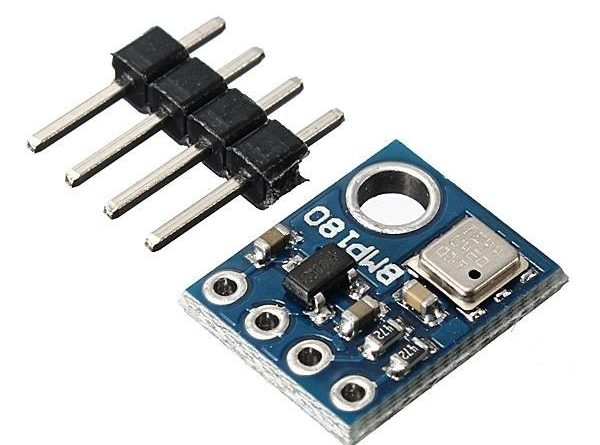
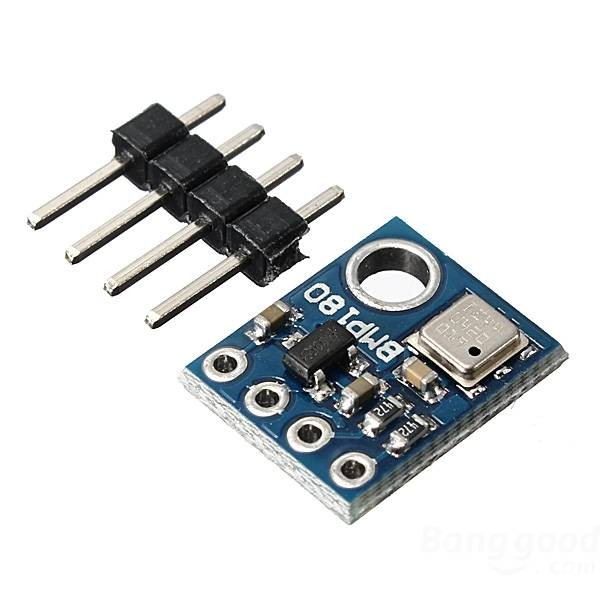
Sensor de Pressão BMP180 |
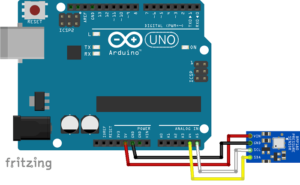
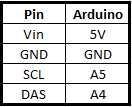
Esquema de Montagem
Código
Para utilizar este sensor aconselhamos que instale adicione esta biblioteca ao seu IDE.
De seguida, faça upload do código exemplo contido na biblioteca instalada (Ficheiro – Exemplos – SparkfunBMP180 – SFE_BMP180_example).
#include#include // You will need to create an SFE_BMP180 object, here called "pressure": SFE_BMP180 pressure; #define ALTITUDE 1655.0 // Altitude of SparkFun's HQ in Boulder, CO. in meters void setup() { Serial.begin(9600); Serial.println("REBOOT"); // Initialize the sensor (it is important to get calibration values stored on the device). if (pressure.begin()) Serial.println("BMP180 init success"); else { // Oops, something went wrong, this is usually a connection problem, // see the comments at the top of this sketch for the proper connections. Serial.println("BMP180 init fail\n\n"); while(1); // Pause forever. } } void loop() { char status; double T,P,p0,a; // Loop here getting pressure readings every 10 seconds. // If you want sea-level-compensated pressure, as used in weather reports, // you will need to know the altitude at which your measurements are taken. // We're using a constant called ALTITUDE in this sketch: Serial.println(); Serial.print("provided altitude: "); Serial.print(ALTITUDE,0); Serial.print(" meters, "); Serial.print(ALTITUDE*3.28084,0); Serial.println(" feet"); // If you want to measure altitude, and not pressure, you will instead need // to provide a known baseline pressure. This is shown at the end of the sketch. // You must first get a temperature measurement to perform a pressure reading. // Start a temperature measurement: // If request is successful, the number of ms to wait is returned. // If request is unsuccessful, 0 is returned. status = pressure.startTemperature(); if (status != 0) { // Wait for the measurement to complete: delay(status); // Retrieve the completed temperature measurement: // Note that the measurement is stored in the variable T. // Function returns 1 if successful, 0 if failure. status = pressure.getTemperature(T); if (status != 0) { // Print out the measurement: Serial.print("temperature: "); Serial.print(T,2); Serial.print(" deg C, "); Serial.print((9.0/5.0)*T+32.0,2); Serial.println(" deg F"); // Start a pressure measurement: // The parameter is the oversampling setting, from 0 to 3 (highest res, longest wait). // If request is successful, the number of ms to wait is returned. // If request is unsuccessful, 0 is returned. status = pressure.startPressure(3); if (status != 0) { // Wait for the measurement to complete: delay(status); // Retrieve the completed pressure measurement: // Note that the measurement is stored in the variable P. // Note also that the function requires the previous temperature measurement (T). // (If temperature is stable, you can do one temperature measurement for a number of pressure measurements.) // Function returns 1 if successful, 0 if failure. status = pressure.getPressure(P,T); if (status != 0) { // Print out the measurement: Serial.print("absolute pressure: "); Serial.print(P,2); Serial.print(" mb, "); Serial.print(P*0.0295333727,2); Serial.println(" inHg"); // The pressure sensor returns abolute pressure, which varies with altitude. // To remove the effects of altitude, use the sealevel function and your current altitude. // This number is commonly used in weather reports. // Parameters: P = absolute pressure in mb, ALTITUDE = current altitude in m. // Result: p0 = sea-level compensated pressure in mb p0 = pressure.sealevel(P,ALTITUDE); // we're at 1655 meters (Boulder, CO) Serial.print("relative (sea-level) pressure: "); Serial.print(p0,2); Serial.print(" mb, "); Serial.print(p0*0.0295333727,2); Serial.println(" inHg"); // On the other hand, if you want to determine your altitude from the pressure reading, // use the altitude function along with a baseline pressure (sea-level or other). // Parameters: P = absolute pressure in mb, p0 = baseline pressure in mb. // Result: a = altitude in m. a = pressure.altitude(P,p0); Serial.print("computed altitude: "); Serial.print(a,0); Serial.print(" meters, "); Serial.print(a*3.28084,0); Serial.println(" feet"); } else Serial.println("error retrieving pressure measurement\n"); } else Serial.println("error starting pressure measurement\n"); } else Serial.println("error retrieving temperature measurement\n"); } else Serial.println("error starting temperature measurement\n"); delay(5000); // Pause for 5 seconds. }
No monitor de serie com o BaudRate em 9600 ser-lhe-ão apresentados uma serie de dados interpretados pelo seu sensor – temperatura, altitude, pressão, etc…
Finalizar
Aconselhamos a que aceda a este site para comparar a sua altitude com a altitude apresentada pelo seu sensor para que possa avaliar a precisão do seu sensor e a necessidade de efetuar ajustes manuais para tornar os valores lidos o mais precisos possíveis.
Para mais projetos, percorram o nosso blog, onde podem encontrar vários artigos interessantes relacionados com eletrónica, robótica e muito mais! Visitem também o nosso site, onde encontram tudo para eletrónica e robótica!